Encrypting local documents
To protect your local documents, spreadsheets and presentations, encrypt them with a simple symmetric encryption plugin. The steps below explain how to do it.
Step 1. Creating the Encryption plugin for the editor
To build the Encryption plugin, you need to create three files:
- HTML file with the interface,
- JS file with code,
- JSON file with config.
More information about the plugin structure can be found here.
Let’s have a look at the config:
{
  "name": "crypto",
  "guid": "asc.{22222222-2222-2222-2222-222222222222}",

  "variations": [
    {
      "url": "index.html",

      "icons": [],

      "isViewer": true,
      "EditorsSupport": ["word", "cell", "slide"],

      "isVisual": false,
      "isModal": false,
      "isInsideMode": false,

      "initDataType": "desktop",
      "initData": "encryption",
      "cryptoMode": "2",

      "cryptoDisabledForInternalCloud": "true",
      "cryptoDisabledForExternalCloud": "true"
    }
  ]
}
All the config parameters are described in the documentation.
After the config file is ready, create the plugin code file with the following contents:
const globalPassword = "{my-super-long-password}"
window.Asc.plugin.init = function init(obj) {
  if (!obj) {
    return;
  }
  switch (obj.type) {
  case "generatePassword":
    this.executeMethod("OnEncryption", [{type: "generatePassword", password: globalPassword}]);
    break;
  case "getPasswordByFile":
    this.executeMethod("OnEncryption", [{type: "getPasswordByFile", password: globalPassword}]);
    break;
  case "setPasswordByFile":
    this.executeMethod("StartAction", ["Info", "Save"]);
    this.executeMethod("EndAction", ["Info", "Save"]);
    break;
  case "encryptData":
    this.executeMethod("OnEncryption", [{type: "encryptData", data: obj.data, check: true}]);
    break;
  case "decryptData":
    this.executeMethod("OnEncryption", [{type: "decryptData", data: obj.data, check: true}]);
    break;
  default:
    break;
  }
}
As we can see from the code above, all files will be encrypted with one password - {my-super-long-password}. The OnEncryption, StartAction, EndAction methods can be found in the Plugins and macros API documentation.
Please note that the encryptData and decryptData types of the OnEncryption method are not relevant for local files.
Step 2. Creating the UI plugin for the app
The Encryption plugin has no interface and can’t run by default. It works only within a document where it is opened (in one tab of the app). To work with all the documents opened or created in different tabs of the ONLYOFFICE desktop, the UI plugin for the app should be created. It helps to use the Encryption plugin when necessary for the whole app.
This plugin can’t access the editing features but has almost the same config:
{
  "name": "Encryption",
  "nameLocale": {
    "it": "Crittografia",
    "fr": "Chiffrement",
    "es": "Encriptación",
    "de": "Verschlüsselung"
  },
  "guid": "asc.{11111111-1111-1111-1111-111111111111}",

  "variations": [
    {
      "url": "index.html",

      "initDataType": "desktop-external",
      "initData": "encryption",

      "cryptoDisabledOnStart": "true"
    }
  ]
}
The index.html file will look as follows:
<!DOCTYPE html>
<html lang="en">
  <head>
    <meta charset="UTF-8" />
    <meta http-equiv="X-UA-Compatible" content="IE=edge,chrome=1">
    <title>Encrypt files</title>
    <script type="text/javascript" src="code.js"></script>
  </head>
  <body>
    <p>Encryption enabled: <input id="check" type="checkbox"/></p>
  </body>
</html>
With it, we will get a new tab called Encryption on the main app page:
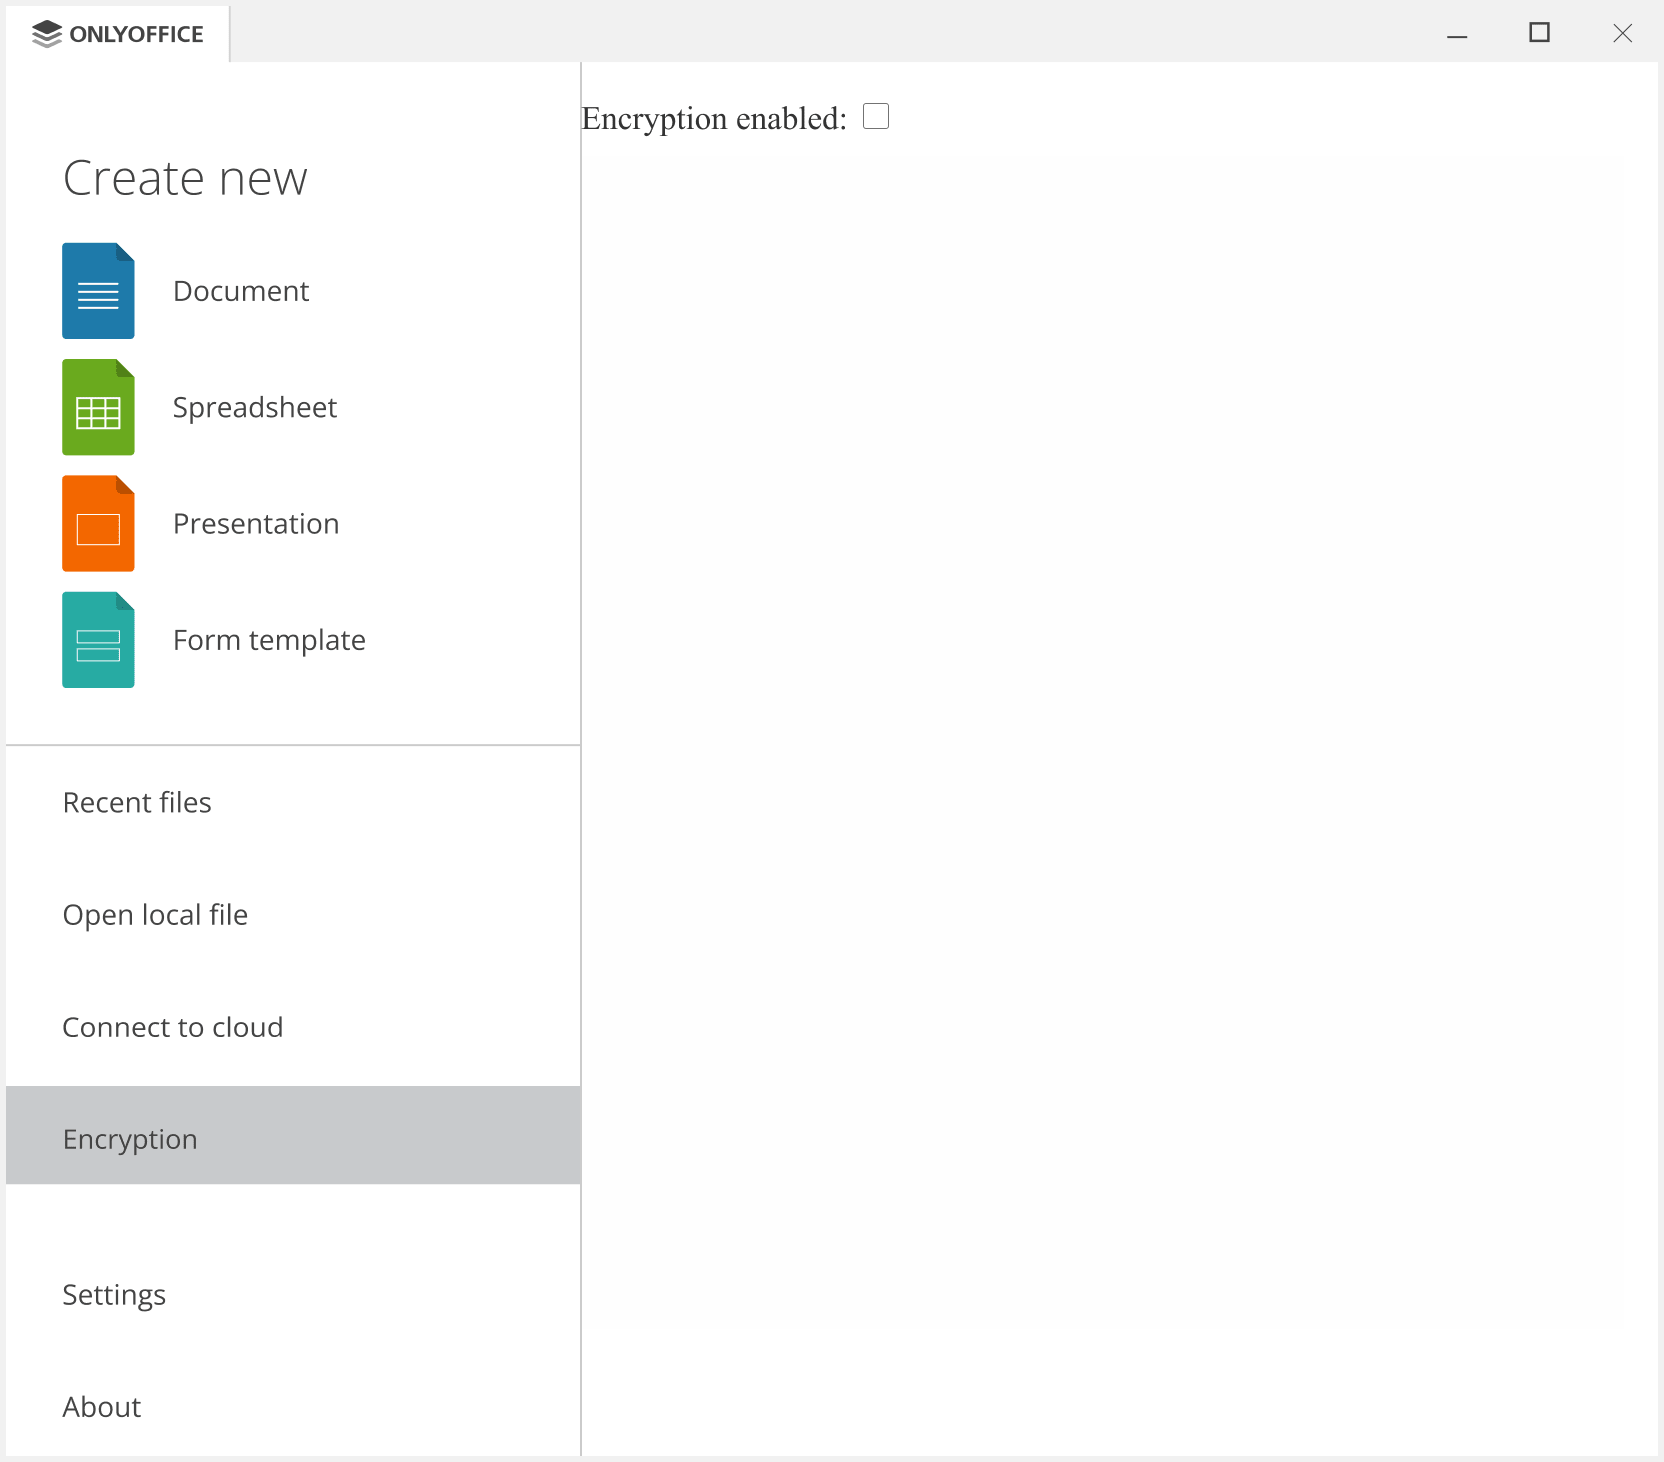
Enable encryption by ticking the checkbox:
window.addEventListener("load", () => {
  const ASC_DESKTOP_EDITOR_DEFAULT_MODE = 0;
  const ASC_DESKTOP_EDITOR_CRYPTO_MODE = 2;

  document.querySelector("#check").addEventListener("change", function changeListener() {
    let mode;
    if (this.checked) {
      mode = ASC_DESKTOP_EDITOR_CRYPTO_MODE;
    } else {
      mode = ASC_DESKTOP_EDITOR_DEFAULT_MODE;
    }
    AscDesktopEditor.SetCryptoMode("", mode, (retCode) => {
      switch (retCode) {
      case 0:
        console.log("OK");
        break;
      case 1:
        console.log("Please, close all open files!");
        break;
      default:
        break;
      }
    })
  })
})
Step 3. Adding plugins to the desktop app
Copy the folders with plugins to the sdkjs-plugins directory. The path to the folder depends on the operating system you use:
- Windows
- Linux
%ProgramFiles%\ONLYOFFICE\DesktopEditors\sdkjs-plugins\
/opt/onlyoffice/desktopeditors/editors/sdkjs-plugins/
It is important that you use plugins GUID as a folder name.
Detailed instructions can be found here.
Step 4. Working with encryption plugins
After adding both plugins to the app, a new Encryption tab will be displayed. If you tick the checkbox there, all files you create and edit will be encrypted with the password:
- If the encryption remains enabled, a password will not be required while opening the protected files (getPasswordByFile will be called).
- If the encryption is disabled or files are opened in another app, a password will be asked.