Get started
ONLYOFFICE Apps Plugins SDK allows developers to create their own plugins and add them to the ONLYOFFICE Apps portal.
This documentation describes:
- How to create, code, style, build, and upload a plugin
- What plugin types and items are available
- What the plugin structure consists of
- How to use plugin variables, methods, messages, and events
- What plugin components can be used to build a plugin
What plugins can do
Here are some examples of what you can do with ONLYOFFICE Apps plugins:
- connect third-party services, like Draw.io, Markdown, Speech to Text, etc.
- enhance the existing user experience and the editors' functionality: PDF converter.
Code samples are available at GitHub.
How to create plugins
To create your own plugin, you need to follow a few steps:
- Preparing
- Creating plugin template
- Coding
- Building
- Uploading to the portal
Step 1. Preparing
Prepare your environment: make sure you have access to ONLYOFFICE Apps (either the on-premises version or an ONLYOFFICE Apps SaaS account), then install the @onlyoffice/docspace-plugin-sdk npm package globally:
npm i -g @onlyoffice/docspace-plugin-sdk
Now, the npx command is available, which will be used to create a plugin.
Step 2. Creating plugin template
-
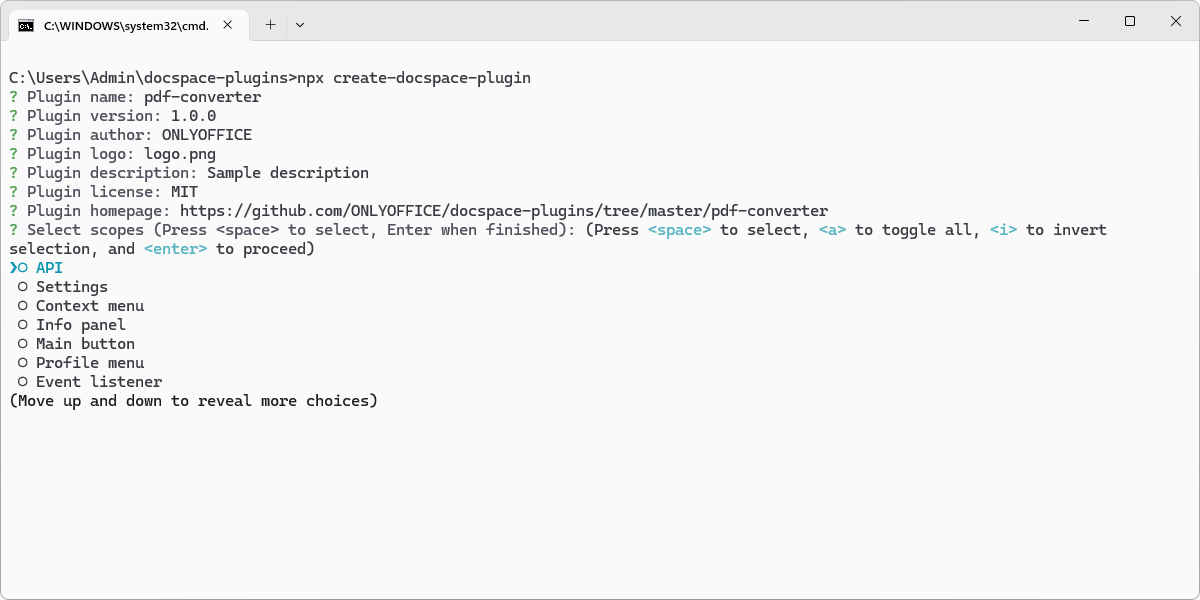
To create a plugin template, run the following command:
npx create-docspace-plugin -
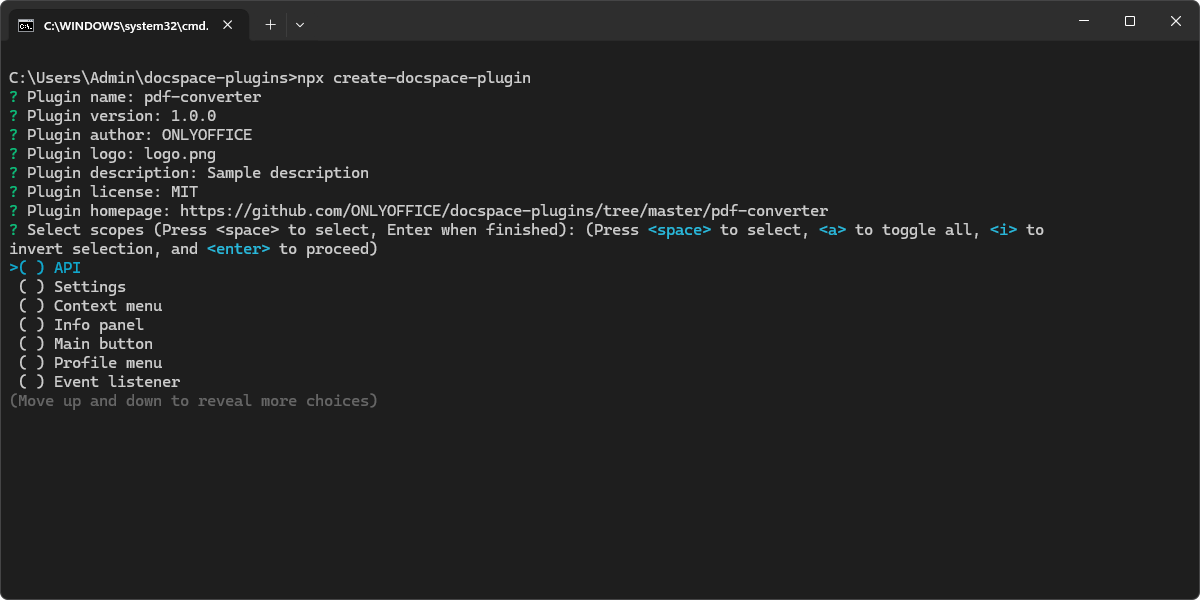
Configure the plugin in the terminal by specifying the plugin settings in the dialog, such as name, version, author, logo, etc.
-
Select the plugin scopes from the list: use the arrow keys to navigate and press Space to select the necessary scopes (API, Settings, Context menu, etc.).
For more information about plugin settings and scopes, see creating a plugin template.
Step 3. Coding
Develop a plugin. Follow the plugin structure described here.
-
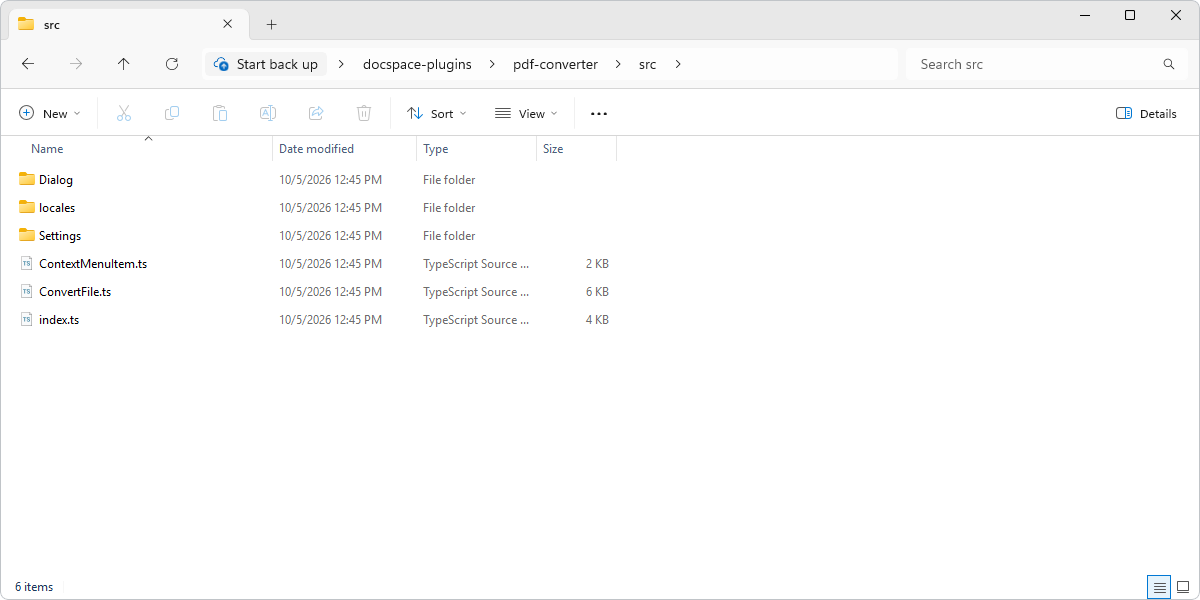
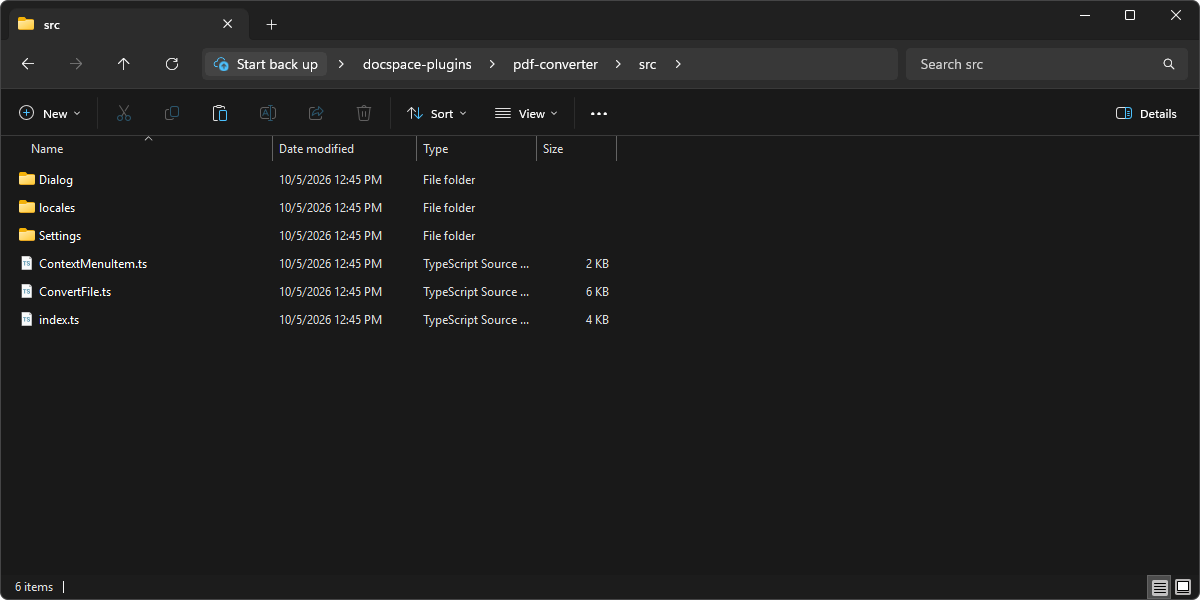
Write code for each plugin type using the corresponding variables, methods and items. Put the scripts into the src folder. Specify the required Plugin interface for each plugin to be embedded in the portal.
-
Specify plugin messages that will be returned by the items. Use the appropriate events that will be processed on the portal side.
-
Learn which plugin components can be used for the ONLYOFFICE Apps plugin interface and add them to your scripts.
Code samples are available at GitHub.
Step 4. Building
To build a plugin, you need to have npm (included with Node.js) installed. The plugin template builds with Vite 8, which requires Node.js ^20.19.0 || >=22.12.0.
-
Install all the necessary dependencies using the npm install command in the plugin root folder (if this was not done previously in Step 2).
-
Build a plugin archive by running the npm run build command. The completed plugin will be located in the dist folder and can be uploaded to the ONLYOFFICE Apps portal. For more information, see building a plugin.
Step 5. Uploading to the portal
To upload a plugin to the ONLYOFFICE Apps portal, follow the instructions here.
The plugin will appear in the plugin list and start functioning automatically.