Authorization flow
When a user clicks the authorization link, any of these four scenarios can occur:
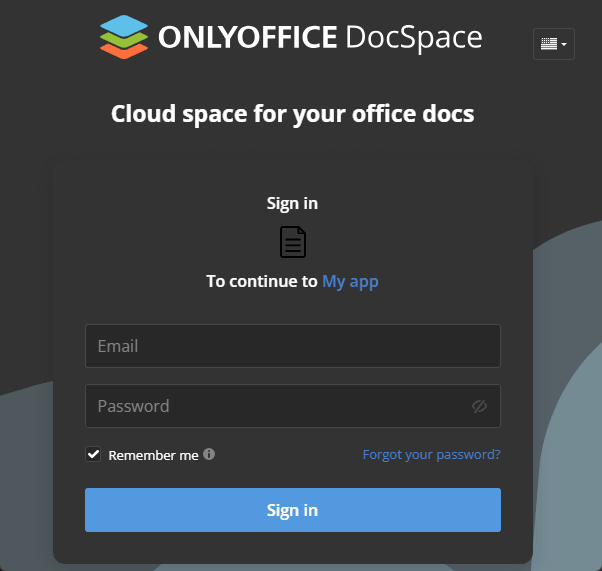
Scenario 1: User authorization
For users not yet authorized on the portal, the authorization link opens an authorization form where they enter their email and password and sign in. On successful authorization, they are redirected to the pages described in scenarios 2 and 3.

Scenario 2: Portal selection
If the user has more than one portal with the entered personal data, they will be redirected to the page for choosing the necessary one.

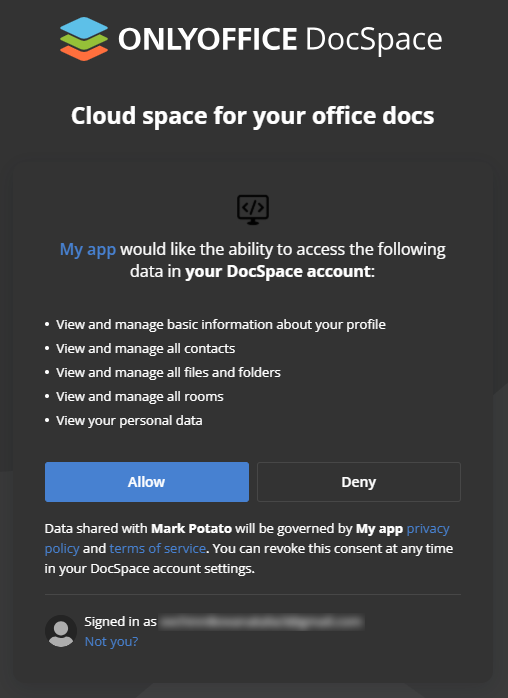
Scenario 3: Consent page
Authorized users are redirected to a consent page that lists all the application abilities while displaying the URLs to the privacy policy and terms of service. This page also provides the possibility to change the user profile.
Click Allow or Deny to finish the authorization flow.

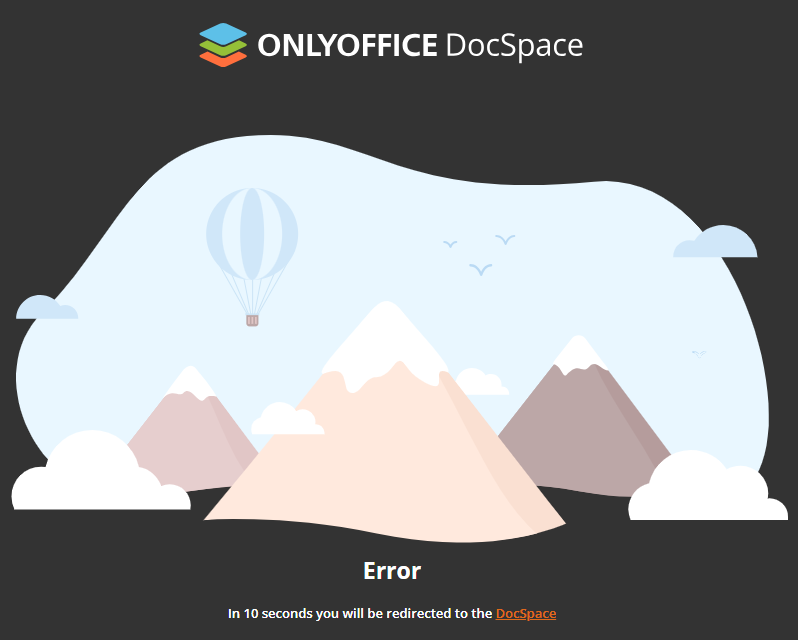
Scenario 4: Error page
If the authorization link contains non-existent client_id and redirect_uri, it redirects the user to the DocSpace error page.

How it works
-
When the user clicks the Allow button on the consent page, they will be redirected to redirect_uri where the code field will be added to the search.
noteIf the user clicks the Deny button on the consent page, they will be redirected to redirect_uri with an error, without the possibility to get JWT.
To send a consent request, you can also send a POST request to the oauth2/authorize address.
-
The application exchanges the user code for the access token and refresh token, saves them to its storage, and uses these tokens to get access to the DocSpace API.
-
The application sends the POST request:
{{docspace_address}}/oauth2/token
The parameters that must be specified in the request body depend on the client type.
For client_secret_post
For client with PKCE
For the client with PKCE, the parameters are the same as for client_secret_post, but the client_secret must be replaced with the code_verifier.