Adding custom providers
Any custom provider can be added to the AI plugin. To do this, follow the instructions below.
Prerequisites
-
Base URL. The web address where API requests are sent. In some cases, the base URL may include an endpoint that specifies the model being used:
https://ai-provider-base-url -
Model version. The version of the accessed model. Sometimes, the model version is included in the base URL:
https://ai-provider-base-url/v1In this example, the model version is v1.
-
API key. A unique key provided by the service provider, used for authentication.
Requests to a custom provider are cross-origin, so the provider's endpoint must allow the plugin's origin — onlyoffice://plugin in the desktop app, or your Document Server address when the editors run in a browser — and must answer CORS preflight OPTIONS requests with a 2xx status. Public cloud APIs usually do this out of the box; for local servers and endpoints behind a proxy, see CORS requirements below.
Step 1. Create the external JavaScript file
To add a custom provider and display it in the list of available providers within the AI plugin, create and upload an external JS file. An example of such a file can be found here.
Custom providers parsed from this file are instances of the Provider class, which extends AI.Provider. This class manages all available providers within the plugin.
Provider class
class Provider {
    constructor(name, url, key, addon) {
        this.name  = name  || "";
        this.url   = url   || "";
        this.key   = key   || "";
        this.addon = addon || "";

        this.models = [];
        this.modelsUI = [];
    }
}
Parameters
| Name | Type | Example | Description |
|---|---|---|---|
| name | string | "Alibaba Cloud" | The name of the provider that will be displayed in the plugin. |
| url | string | "https://dashscope.aliyuncs.com/compatible-mode" | The web address to which the API request will be sent. |
| key | string | "yourAPIKey" | The API key issued by the provider. This is an optional field. Some providers may require a key for access. |
| addon | string | "v1" | A URL addon (e.g., version tag). |
Example
"use strict";

class Provider extends AI.Provider {

    constructor() {
        super("Alibaba Cloud", "https://dashscope.aliyuncs.com/compatible-mode", "yourAPIKey", "v1");
    }
}
Step 2. Configure the provider in the AI plugin
To add the custom provider to the AI plugin:
-
Open the AI tab in the top toolbar of ONLYOFFICE editors.
-
Select Settings.
-
In the AI configuration window, select Edit AI models.
-
In the AI Models list window, click

 to edit models.
 -
In the Edit AI Model window, click Custom providers.
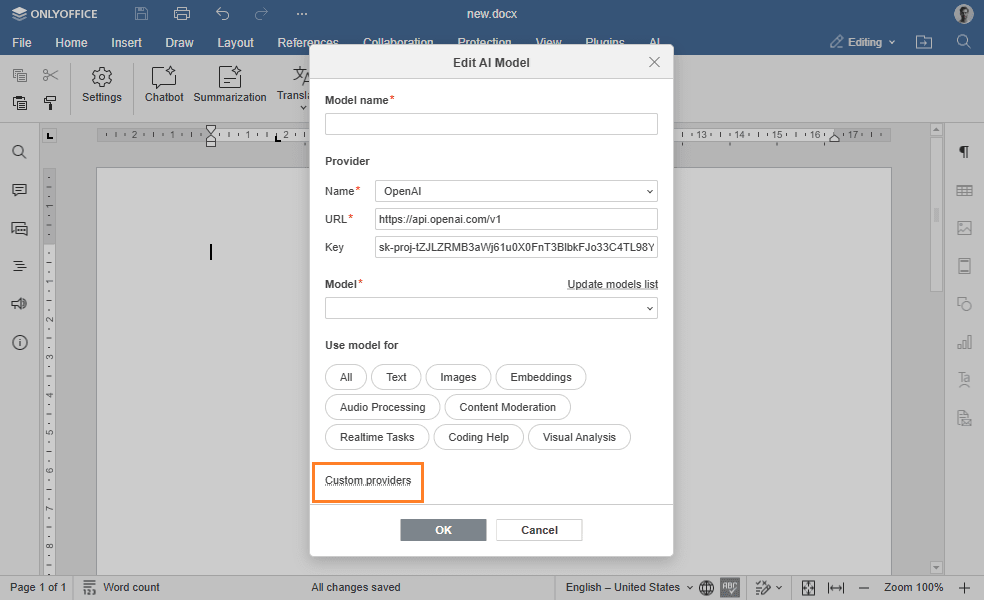
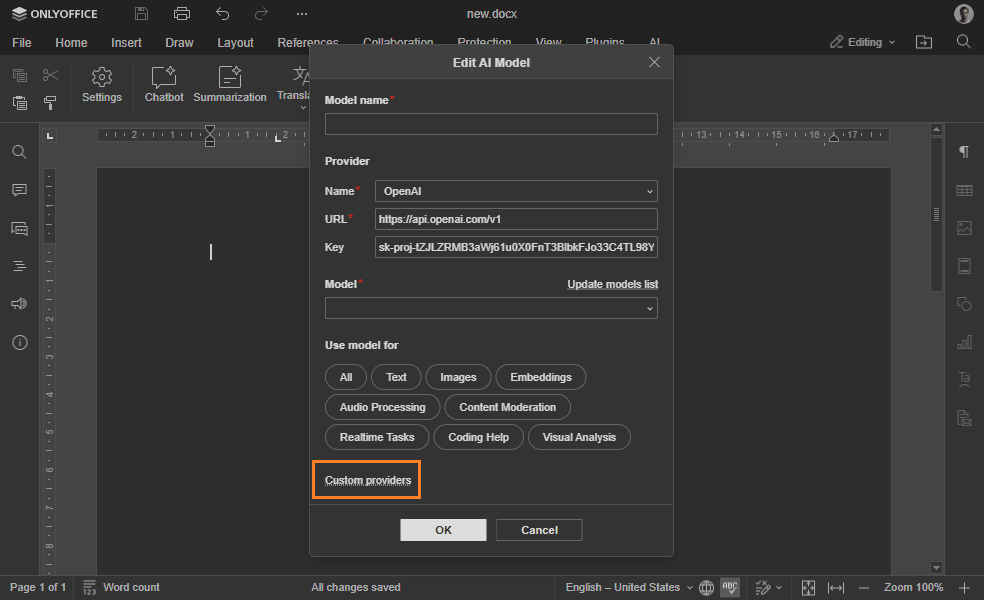
-
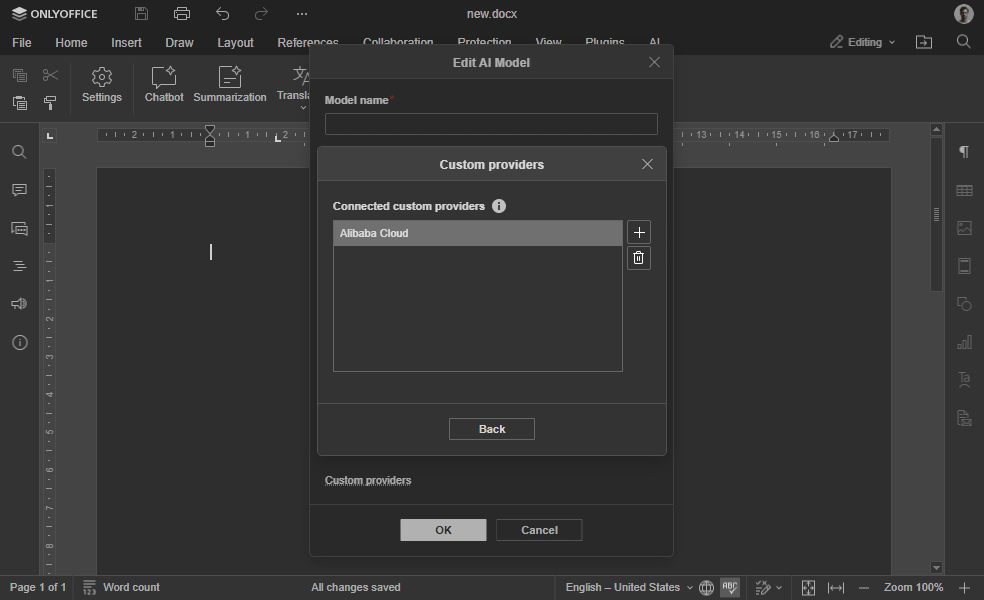
Click

 and upload the JavaScript file containing your custom provider settings.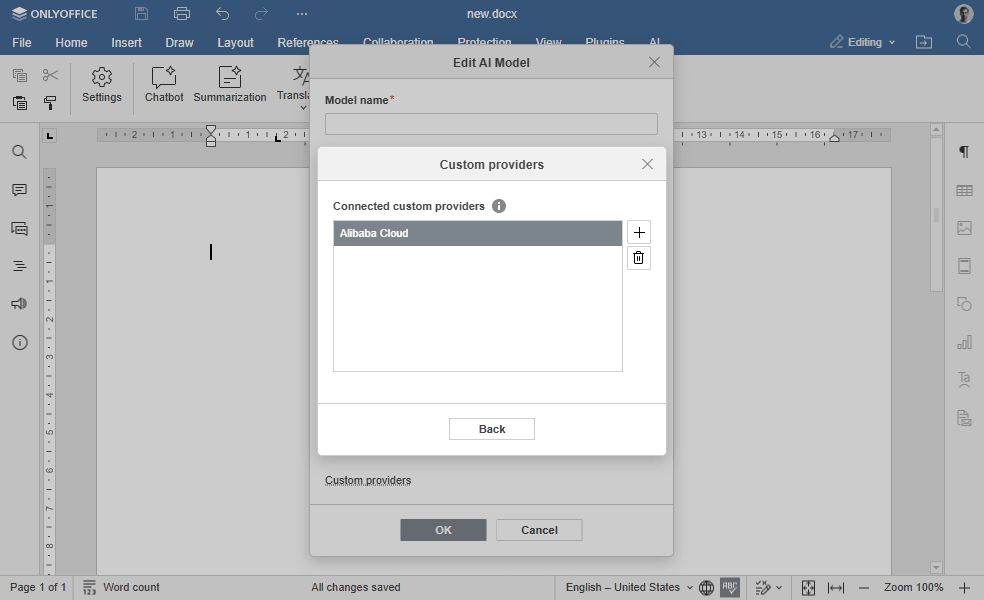
-
Click Back to exit Custom providers window.
-
Select your custom provider from the list in the Edit AI Model window and click OK.
-
Click Back to exit the AI Models list window.
-
Set the custom provider model for a specific task in the AI configuration window.
The AI plugin is fully configured and ready to handle a wide range of tasks.
CORS requirements
The AI plugin runs in a web context, so every request to a custom provider is a cross-origin request, and the provider's endpoint decides whether the browser may read the response. If it does not allow the plugin, the provider cannot be used: the model list stays empty and the browser console reports Access to fetch at '.../v1/models' from origin 'onlyoffice://plugin' has been blocked by CORS policy: .... The text after the colon names the specific cause — most often a missing Access-Control-Allow-Origin header. Whether you have to configure anything depends on the type of endpoint.
What the endpoint must return
The endpoint must answer the preflight on every API path the plugin calls — not only /v1/models — with:
Access-Control-Allow-Origin: onlyoffice://plugin
Access-Control-Allow-Headers: Authorization, Content-Type
Access-Control-Allow-Methods: GET, POST, OPTIONS
The actual response needs Access-Control-Allow-Origin too. Access-Control-Allow-Headers and Access-Control-Allow-Methods are read from the preflight response only.
In the desktop app the plugin runs on the onlyoffice:// scheme, which ONLYOFFICE registers as a standard, secure, CORS-enabled scheme, so requests from the plugin carry an Origin header and follow the same CORS rules as any web page. Plugin pages are served from onlyoffice://plugin/, which makes onlyoffice://plugin the origin to allow. When the editors run in a browser, the origin is your Document Server address instead — use it in place of onlyoffice://plugin in all the examples below. Access-Control-Allow-Origin holds a single value, so to allow both cases either return *, or echo the origin of the incoming request. When you echo the origin, add Vary: Origin so that a cache does not serve one origin's response to another. Reflecting any origin makes the endpoint callable from any website, so on a publicly reachable endpoint match the incoming origin against an allowlist instead — see the security note under Basic Nginx configuration in the Ollama guide.
The plugin always sends Content-Type: application/json, and adds Authorization: Bearer <key> when the provider has an API key. application/json is not a CORS-safelisted value, so the browser sends a preflight OPTIONS request before the actual one. The endpoint must answer it with 200 or 204, and never with a redirect.
A provider class can override isUseProxy() to route its requests through a proxy service instead of calling the endpoint directly, which sidesteps CORS. This only applies to requests that are not GET, and the model list is a GET request, so the endpoint always has to return the headers above.
Public cloud APIs
OpenAI, OpenRouter, Mistral and similar services send CORS headers by default, so there is nothing to configure. Some APIs require an extra opt-in request header before they answer browser requests, so if the model list does not load, check the provider's own documentation.
Local AI servers
Ollama, LM Studio and Open WebUI only accept origins that are listed explicitly, so add the plugin's origin to that list: OLLAMA_ORIGINS=http://*,https://*,onlyoffice://* in Ollama, CORS_ALLOW_ORIGIN in Open WebUI, or the CORS switch in the LM Studio server settings. OLLAMA_ORIGINS supports * wildcards, which is why onlyoffice://* covers the plugin's origin there, while a strict allowlist — an nginx map, a Traefik accessControlAllowOriginList — needs the exact value onlyoffice://plugin. llama.cpp and vLLM allow every origin by default and need no configuration; in vLLM the list can be narrowed with --allowed-origins. For a full Ollama walkthrough — setting the variable on each OS, restarting the service, verifying the response headers, and exposing it through a TLS-terminated nginx proxy — see Configuring Ollama with CORS.
Reverse proxy configuration
For an endpoint published through your own reverse proxy — nginx, Traefik, Caddy, or an API gateway — configuring the application is not always enough: the proxy has to let the preflight through, and the headers have to survive it. Configure CORS either in the application or in the proxy, but never in both — the browser rejects duplicated Access-Control-Allow-Origin headers.
nginx
Handle the preflight in the proxy itself:
location /v1/ {
    if ($request_method = OPTIONS) {
        add_header Access-Control-Allow-Origin "onlyoffice://plugin" always;
        add_header Access-Control-Allow-Methods "GET, POST, OPTIONS" always;
        add_header Access-Control-Allow-Headers "Authorization, Content-Type" always;
        add_header Access-Control-Max-Age "86400" always;
        return 204;
    }
    add_header Access-Control-Allow-Origin "onlyoffice://plugin" always;
    proxy_pass http://your-backend;
}
Traefik
Middleware and router labels:
traefik.http.middlewares.ai-cors.headers.accessControlAllowOriginList=onlyoffice://plugin
traefik.http.middlewares.ai-cors.headers.accessControlAllowMethods=GET,POST,OPTIONS
traefik.http.middlewares.ai-cors.headers.accessControlAllowHeaders=Authorization,Content-Type
traefik.http.middlewares.ai-cors.headers.accessControlMaxAge=86400
traefik.http.middlewares.ai-cors.headers.addVaryHeader=true
traefik.http.routers.<router-name>.middlewares=ai-cors@docker
The first labels only declare the middleware. The last one attaches it to the router — without it Traefik never applies the middleware and adds no CORS headers at all. The @docker suffix names the Traefik provider that the middleware is declared in — use @file if you declare it in a file provider instead of Docker labels.
If HTTP-to-HTTPS redirection is configured on the entry point, or a redirect middleware is evaluated before this one, Traefik answers the preflight with a 308 and no CORS headers at all — use the HTTPS address as the base URL.
Verifying the endpoint
Verify the endpoint before adding it as a provider.
Check the preflight:
curl -i -X OPTIONS 'https://<base-url>/v1/models' \
  -H 'Origin: onlyoffice://plugin' \
  -H 'Access-Control-Request-Method: GET' \
  -H 'Access-Control-Request-Headers: authorization,content-type'
Then check the request itself:
curl -i 'https://<base-url>/v1/models' \
  -H 'Origin: onlyoffice://plugin' \
  -H 'Authorization: Bearer <your-api-key>'
The first response must be 200 or 204 and must contain Access-Control-Allow-Origin, Access-Control-Allow-Methods, and Access-Control-Allow-Headers listing authorization and content-type. The second must be 200 and contain Access-Control-Allow-Origin. If both responses check out and the model list still fails to load, read the origin named in the console error: it may differ from the one you allowed.